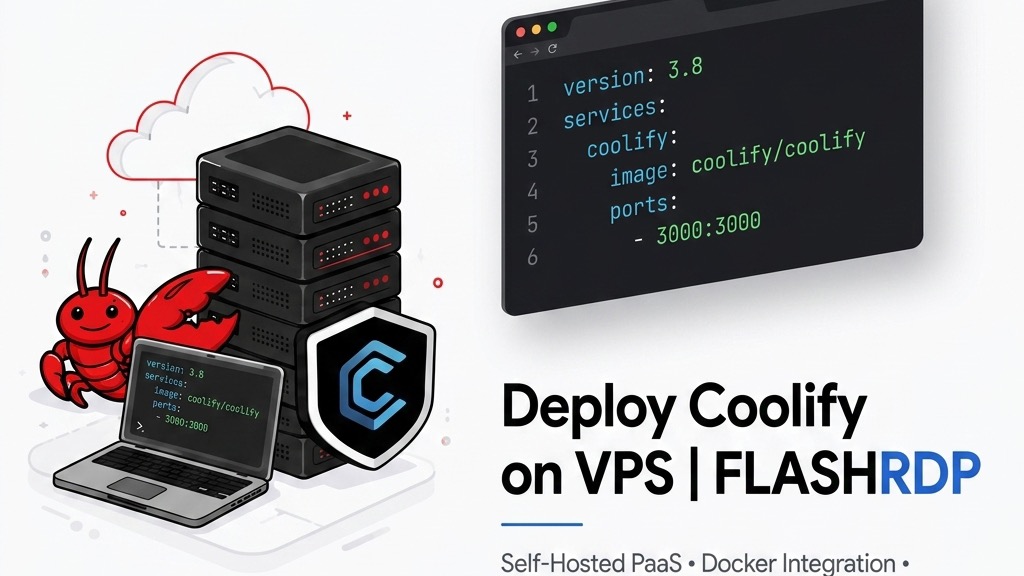
Installing Coolify on your VPS allows you to manage and deploy your applications with the ease of Heroku or Vercel, all on your own private infrastructure.
Last updated: May 13, 2026
As the demand for self-hosting grows, many developers are moving away from managed platforms like Heroku or Vercel to maintain control over their data and reduce costs. According to Stack Overflow's Developer Survey, the interest in self-hosted solutions and private infrastructure has seen a significant uptick as developers seek more flexibility and privacy. Coolify is at the forefront of this movement, providing a robust, open-source PaaS (Platform as a Service) that simplifies the deployment of applications and databases on any Linux server.
Coolify handles everything from SSL certificates to automated backups and database management, making it an ideal choice for teams that want a "deploy once, run anywhere" experience without the high price tag of managed cloud providers.
Prerequisites
Before starting the installation, ensure you have the following ready:
- A Linux VPS with a fresh installation of Ubuntu 22.04 LTS or Ubuntu 24.04 LTS.
- At least 2 Cores, 4 GB RAM, and 30 GB SSD space for optimal performance.
- Full root access to your server via SSH.
- A registered domain name (optional but recommended for SSL and production use).
💡 Tip: The FlashRDP Bronze Plan ($11.99/mo) comes with 2 Cores and 4 GB of RAM, making it the perfect entry-level choice for a high-performance Coolify instance.
Step 1: Provision Your FlashRDP VPS
The first step is to ensure your server environment is clean and ready. Coolify is best installed on a fresh OS to avoid conflicts with existing software.
- Log in to your FlashRDP Service Area.
- Deploy a new Linux VPS in the Phoenix, AZ datacenter.
- Select Ubuntu 24.04 LTS as your operating system.
- Once the server is ready (usually in under 3 minutes), connect via SSH using your root credentials.
Step 2: Run the Coolify Installation Script
Coolify provides a highly automated installation script that handles Docker installation, directory setup, and service configuration in one go.
Run the following command to begin the installation:
What this script does:
- Installs Docker Engine (version 24+).
- Configures Docker logging and daemon settings.
- Sets up the persistent storage directory at
/data/coolify. - Pulls and starts the latest Coolify images.
The process typically takes 2-5 minutes depending on your server's network speed. Once complete, the terminal will display the URL to access your new dashboard.
Step 3: Configure Your Firewall
For Coolify to work correctly and securely, you need to ensure the correct ports are open. By default, Coolify uses port 8000 for the dashboard and ports 80/443 for your deployed applications.
Use ufw to manage your firewall rules:
Step 4: Access the Dashboard and Create an Account
Now that the services are running, you can access the setup wizard through your browser.
- Navigate to
http://your_vps_ip:8000. - You will be prompted to create your Admin Account.
- Enter your email and a strong password.
⚠ Warning: Create your admin account immediately after installation. Since the registration page is public during initial setup, someone else could potentially claim ownership if left unattended.
Step 5: Post-Installation Tasks
Once logged in, there are a few final steps to make your instance production-ready:
1. Set Up a Wildcard Domain
In the Settings menu, add your root domain (e.g., apps.yourdomain.com). Coolify will use this to automatically generate subdomains for every new project you deploy.
2. Connect Your Source Control
Go to Sources and connect your GitHub, GitLab, or Bitbucket account. This allows you to deploy directly from your repositories with automatic deployments on every git push.
Why FlashRDP for Coolify?
- NVMe M.2 Storage: Coolify and its managed databases benefit from the high I/O speeds of our enterprise NVMe drives, ensuring fast application load times.
- 1Gbps Unmetered Bandwidth: Deploy as many applications as you need without worrying about data transfer limits or hidden overage costs.
- KVM Virtualization: Full hardware isolation means your Docker containers run with dedicated resources, providing better stability for production workloads.
- Instant Provisioning: Get your server live and start installing Coolify in less than 3 minutes with our automated setup.
Frequently Asked Questions
Can I install Coolify on an existing server?
It is possible, but we highly recommend a fresh installation of Ubuntu to avoid conflicts with existing Docker versions or web servers like Nginx/Apache.
Does Coolify replace Docker?
No, Coolify acts as a management layer (PaaS) on top of Docker. It automates the creation of containers, networks, and volumes for you.
Can I host multiple websites on one FlashRDP VPS?
Yes! Coolify is designed for multi-tenancy. You can host dozens of static sites, APIs, and databases on a single Silver or Gold Plan depending on your resource usage.
How do I update Coolify?
Coolify features an automatic update system. You can also manually trigger an update from the Settings dashboard or by running the installation script again.
Is port 25 open for mail servers?
Yes, FlashRDP keeps port 25 open by default on all Linux VPS plans, making it easy to host your own mail servers or use transactional email services.
Do I need a domain name to use Coolify?
While you can use your server's IP address for testing, a domain name is required if you want Coolify to automatically manage SSL certificates via Let's Encrypt.

Rohan
Operations Manager & Founder
Operations Manager at FlashRDP. With 5+ years in cloud infrastructure, Rohan specializes in KVM virtualization, network security, and building privacy-focused hosting solutions for professionals worldwide.